Original Pin HERE
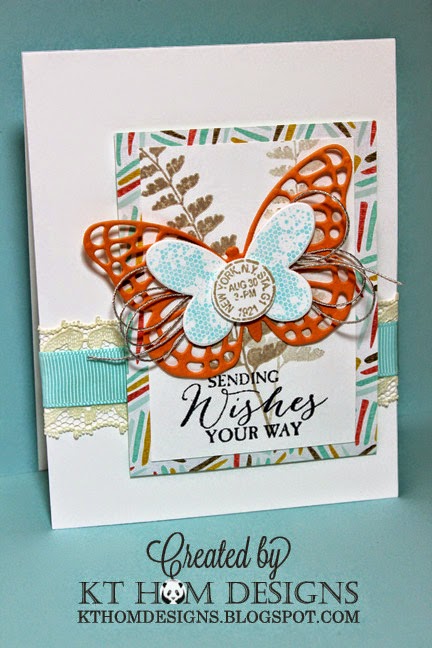
...and my card:
Thanks to a nice how-to video post by Patty Bennett on her Patty Stamps blog , I also learned a new way to get those intricate dies to release the paper in an efficient way using a dryer sheet! Here's the video:
Original Pin HERE
I still had to use my pointy tool to release the paper from the die itself BUT the paper butterfly released perfectly without any issues - completely intact and ready to use! The layers are as follows when using a die cut machine such as a Cuttlebug: Standard plate (A for Cuttlebugs), cutting plate (C), dryer sheet, paper to be cut, waxed paper, die and final (B) plate.
...and here's another butterfly project I made using my new toys:
(The box and matching raffia are from a new line of blank boxes that I recently found at Target that was on an end cap near their card area. The Happy Birthday Wishes saying is from SU's Simply Sketched set.)
....and here's my birthday card to match:
While I had the large oval punch out, I made this thank you note for my boss and his wife from a vintage picture I found over the holidays when I was reorganizing my picture boxes:
I cased that card idea from my talented friend, Rina. Her daughter sent me one of her mom's cards after the holidays:
I love how she got that knot to look like that...so I carefully loosened it to see how she did it!
NOTE: Starting in February, I'll be posting my PIN IT FRIDAY FAVS about two times a month ^_^ Sign up in the column to the right ("Follow by Email") to receive my future posts delivered via your email.
NOTE: Starting in February, I'll be posting my PIN IT FRIDAY FAVS about two times a month ^_^ Sign up in the column to the right ("Follow by Email") to receive my future posts delivered via your email.


